So, are you ready? Here we go (click on any of the pictures to see it full sized):
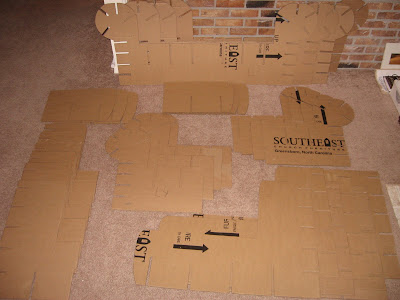
So first I laid out all the structural pieces. As you can (maybe) see, some of them have slots in the bottom and others have slots in the top. These will fit together to make a solid grid that will give the loveseat most of it's strength.
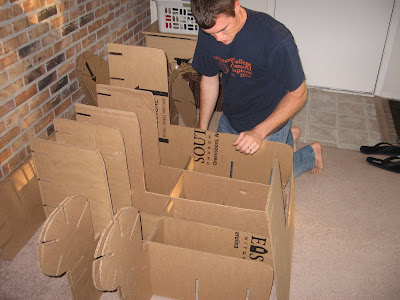
And so I started putting the pieces together. Thanks to Shwey (our cat) those pieces behind me didn't stand a chance of escaping.
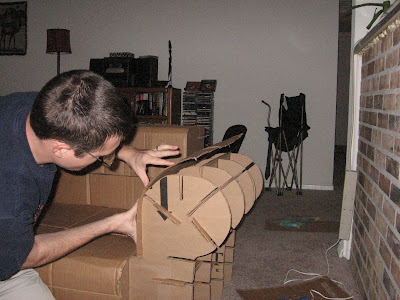
The piece I'm touching has slots in the bottom that fit into the slots on the cross pieces. I cut a lot of slots. It took a long time.
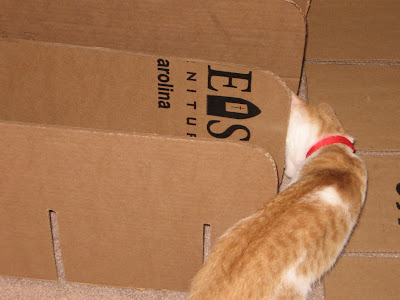
Shwey inspects my work.
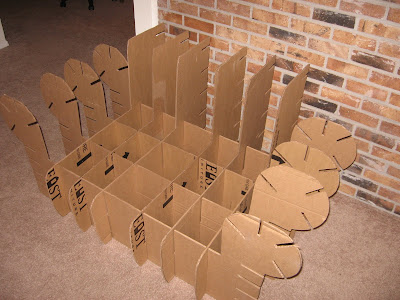
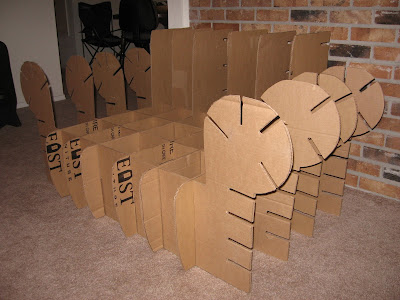
Finished assembly of the frame
This was actually a trial run I did the night before. In this picture I'm only using half of the frame pieces, for the real assembly I actually double-layered each part. Because I had such good cardboard I was able to make sure that the "grain" of the cardboard on one piece was vertical and on the second piece it was horizontal. It's the same principle they use for plywood -- a bunch of flimsy pieces of wood, layered together in opposite directions, makes for a very strong finished product.
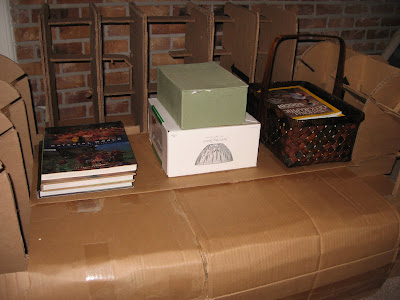
Next up is a little more strengthening. To create support for the arms and back I needed to put in a bunch of little cross pieces. Small boxes are perfect for this.
Here you can see how I put the supports into the frame
Next Step was to glue on the "skin". Put on glue. Apply pressure. Let dry. Repeat.
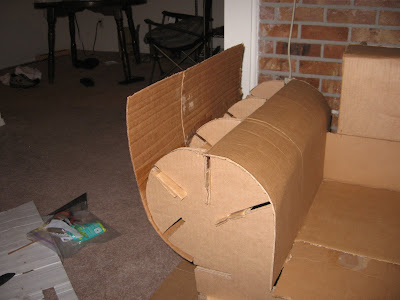
The curved parts were the hardest. First you have to role and bend the cardboard so that it will mold to the shape you want. Then you have to glue in sections because the glue dries too fast. At least if you're using a hot-glue gun.
Press down and be sure that the cardboard is touching on all points. And keeping constant pressure until the glue dries is key. I had to re-do several spots that hadn't bonded well.
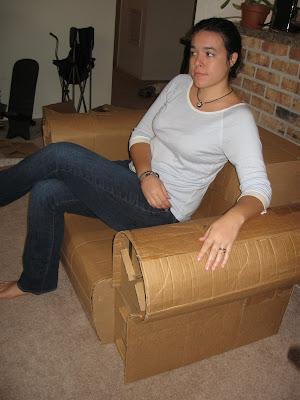
My lovely wife models with the nearly completed loveseat. And yes, it holds us both, I just don't have a picture of us both sitting on it.
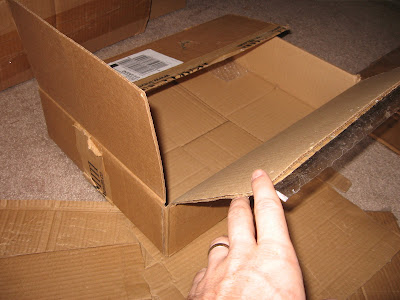
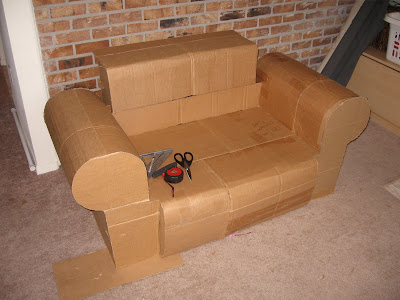
Complete with facing on the front of the arms. And those were my tools: A square, box cutters, scissors, measuring tape, and a pen. A long straight ruler would have been nice, you need something to help you make long straight lines...don't EVER assume that the cardboard is straight or square.
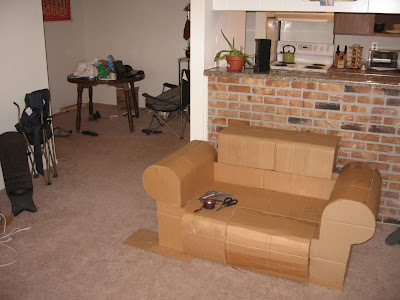
From a little further away so that you can see how it fits in the room. It obviously will look a lot better once Melissa gets it covered, but it's now usable.
The entire project took me about 20 hours over the course of three weekends. I know, it sounds like a long time, and it is. But take into account that I work slowly on projects of this nature and that the main labor for this project was cutting out the cardboard pieces. It could definitely be done faster.
To see how we upholster it check Melissa's blog in the following weeks. And yes, I'm using the "we" very liberally here...Melissa will probably be doing most of the work, but I'll help how I can. I'm excited to see if we can upholster it in such a way that people wouldn't even know it was cardboard. I think we can.
Thanks for reading.


So cool! I need to call you guys sometime.
ReplyDeleteAmazing! Do you ship?
ReplyDeleteThat is awesome!!!
ReplyDeleteit is soooooo cool. i know your brother that is a teacher.
ReplyDelete